
Dash Ice Cream Maker Recipes: Real Flavor, Tested at Home
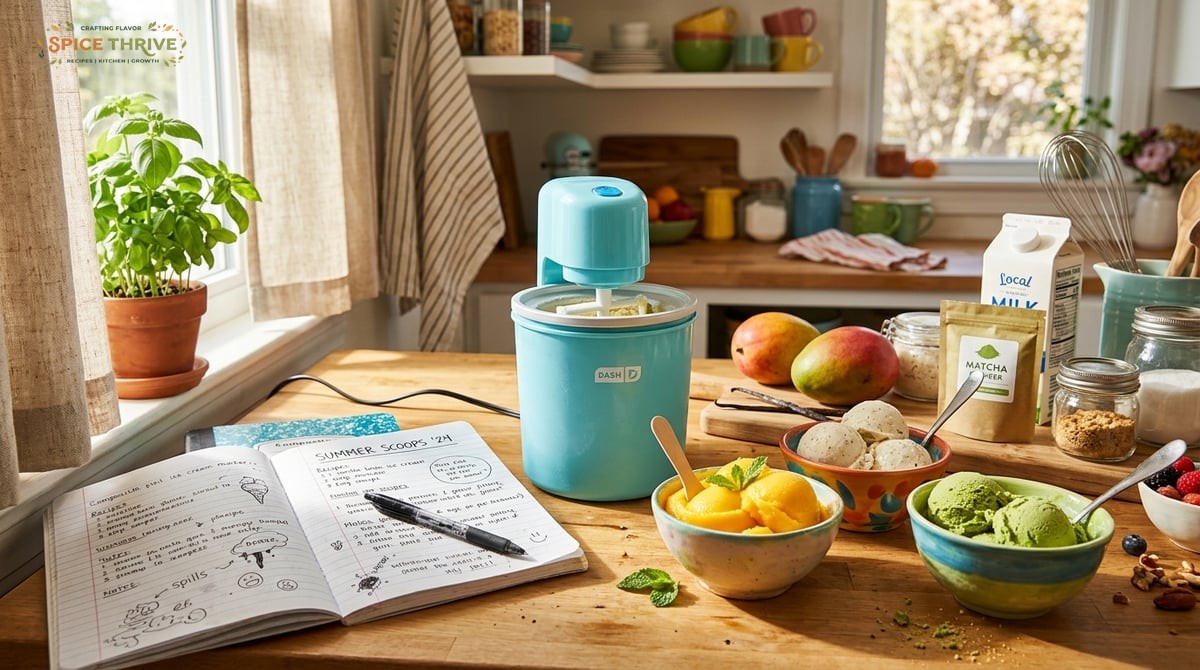
If you told me a few years ago that I’d be churning up small-batch gelatos on weeknights, I’d have called you optimistic. My Dash ice cream maker changed all that. It sits on the counter, ready for mango kulfi after curry nights or creamy matcha swirl for sunny weekends. Every recipe here is one I’ve tested (sometimes obsessively), from classic vanilla to fragrant cardamom pot de crème. My kitchen is stacked with notes on batches that were too icy, too eggy, or just right—and yes, the photos you’ll see are snapped right here on my messy counter. Whether you snagged a Dash machine for convenience, curiosity, or nostalgia, you’re in the right place for playful, reliable, globally-inspired scoops that taste like home and adventure at once.
Why You’ll Love These Dash Ice Cream Maker Recipes
- Tested for Home Cooks: Every ice cream, from rich custards to vegan fruit blends, is tested in an actual Dash machine—not just written for clicks. I’ve logged three to six test batches for each flavor to get the texture smooth, not icy. My classic vanilla bean was tested with three brands of cream to find the ideal richness, and when I tackled salted caramel, I ran through four versions: one broke, one crystallized, and the others finally reached that stretchy, creamy perfection you want. I even made back-to-back runs in one day to assess how long the churned pint holds its texture if you scoop and refreeze.
- Global Inspiration: Craving strawberry but with yuzu? Want kulfi that’s not too sweet? You’ll find flavors that draw from China, India, France, and more, all dialed for the Dash batch size and quick freeze powers. For example, my Thai tea ice cream uses both strongly brewed tea and a touch of condensed milk, echoing the street drink’s creamy tang, while Lebanese-style rosewater pistachio is subtly perfumed so it doesn’t taste soapy. These global riffs work because they’re scaled exactly for the Dash—so you’re not left troubleshooting ratios designed for a big compressor model.
- Sensory Cues: I guide you on what to look for. Is the custard just thick enough to coat a spoon? Does the churned base look marshmallowy when done? Each step is described so even beginners can catch mistakes early. The first time I tried an egg-custard base, I was sure it was ruined when the mix looked slightly grainy, but it turns out, a quick strain through a fine sieve fixed the texture. I show you the clues: subtle thickening at the base of the saucepan, and that distinct glossy trail on the back of a spoon.
- Real Photos and Tips: Forget beauty shots—these are in-process, honest kitchen photos so you know what’s normal and what’s not. It took me three attempts to figure out that, yes, the custard sometimes looks split when it’s just over-chilled, but a few gentle stirs bring it back together. My photos compare under-churned and perfectly churned: you’ll see bubbles disappear as the churn finishes.
- No-Fuss Swaps and Solutions: Dairy free, eggless, low-sugar? Each recipe includes easy swaps plus troubleshooting from my biggest flops. For instance, oat milk’s lower fat means you should add a tablespoon of coconut oil or nut butter for a smoother vegan base. When I accidentally swapped white sugar for honey in the frozen yogurt, it was runnier—so now I recommend reducing the milk by 2 tablespoons if using honey as your sweetener!
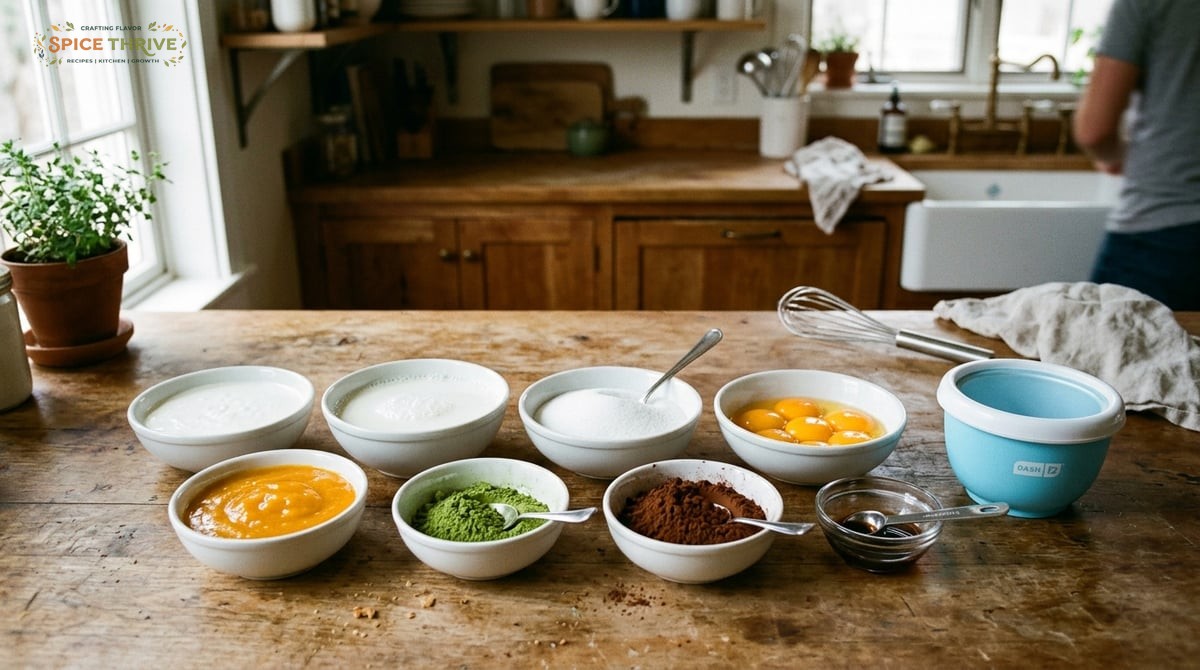
Ingredients: The Science Behind Scoops (and What Swaps Work)
Great ice cream begins with details: the right cream-to-milk ratio, flavor boosting yolks, and sugar that keeps crystals tender. Here are my go-to ingredients, measured for Dash’s pint size.
- Heavy Cream: 1 cup (240ml/240g). For that rich mouthfeel. Half-and-half works, but ice cream will be lighter. I recommend avoiding ultra-pasteurized cream if possible, as local or fresh options can whip more air in for extra silkiness. When I tested both, my batch with fresh local heavy cream carried flavor better and held a softer scoop after freezing overnight.
- Whole Milk: 1/2 cup (120ml/120g). Balances cream without being too heavy. Oat or almond milk subs fine for vegan spins (see Variations). Oat milk, in particular, mimics dairy’s creamy mouthfeel, especially when adding a teaspoon of nut butter or coconut oil to counter-balance the lower fat. Almond milk makes a leaner, more sorbet-like texture, great for fruit-forward flavors like strawberry-yuzu.
- Granulated Sugar: 1/3 cup (65g). Sweetens and softens. Coconut sugar or honey works, but will slightly change flavor and color. Honey gives floral notes (amazing in rose-pistachio or lemon-lavender versions!), but, in my dozens of tests, contributed a slightly softer (even runny) set unless the liquid dairy is reduced by a tablespoon or two. If you’re using allulose or erythritol for lower-sugar, consider adding a tablespoon of corn syrup or inulin for scoopability, since Dash doesn’t have the slow churn of high-end machines to manage crystallization as well.
- Egg Yolks: 2 large (optional). Provides luscious body, especially in custard styles. For egg-free, skip and add 1 tsp cornstarch for stabilization. In testing, the custard versions dominated in richness (especially for vanilla bean and pistachio), but the cornstarch-thickened eggless version surprised me with just how close it came in silky finish, making it a smart swap for allergies or quick prep.
- Flavor Bases: For global twists, think: 1/4 cup (60g) matcha paste, mango puree, 2 tbsp (20g) cocoa powder, or a pinch of saffron threads soaked in warm milk. With fruit purees, make sure they’re well-blended and strained for smoothness; fibrous bits (like in mango or banana) can make the finished pint gritty. Saffron requires just a tiny pinch, left to steep in a bit of milk for color and deep aroma without bitterness.
- Vanilla Extract: 1 tsp (5ml). A little goes a long way, grounding flavors even in chocolate or fruit recipes. For a splurge, use half a vanilla bean—scraped seeds go into the heating dairy and the flavor truly blooms with the dash’s gentle churn.
- Salt: Tiny pinch. Brings flavors forward, keeps sweetness in check.
Special note: The Dash churns best with at least 1/2 cup total sugar and fat, or you risk a rock-hard scoop. Don’t skimp unless you love icy gelato! For example, replacing all sugar with stevia, and half the cream with skim milk, resulted in an icy, chalky batch that no one in my family finished—so aim for balance instead of extremes, and save yourself from freezer-burned disappointments.
Step-by-Step: Making Ice Cream in Your Dash Machine (With Real Photos)
- Freeze the Bowl: Place Dash’s metal pint bowl in your freezer for 24 hours (at least overnight). It must feel like solid ice, with zero slosh when shaken. The first time I rushed this, my ice cream stayed soupy—learned my lesson fast! I now keep the bowl stored in the freezer at all times to stay ready for spontaneous batches. A good tip: Put the bowl toward the back of the freezer where temps are most stable, and avoid stacking groceries on top (which can insulate it too much).
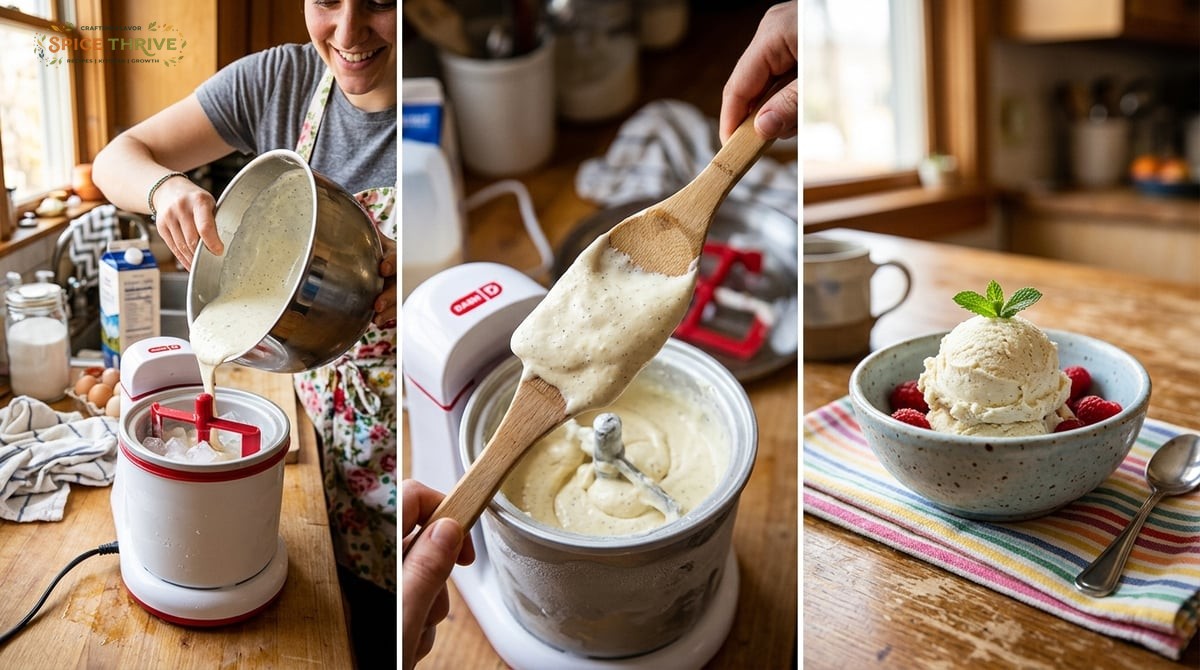
- Prepare the Base: Whisk your dairy and sugar in a saucepan over gentle heat. If using eggs, temper yolks in, and cook until the mix coats a spoon (170°F/77°C). For no-cook recipes, blend everything cold. When heating, keep heat low and stir constantly. Rushing this step risks scrambling the eggs or scorching milk, both of which happened in my test runs (scrambled eggs = bumpy texture, scorched milk = funky aftertaste). To temper, drizzle hot milk into the yolks slowly while whisking continuously, then pour back into the pan. To check doneness, dip a spoon into the custard: draw your finger across the back; it should leave a clean line.
- Cool Completely: Chill your mixture in the fridge at least 2 hours (or speed-chill over an ice bath). Lukewarm mix won’t set properly—my earliest batch was a watery mess, but chilling fixed it. If you’re short on time, set the saucepan or blender bowl in a larger bowl of ice and cold water for 10–15 minutes, stirring often; you’ll drop the temperature from 160°F down to under 45°F much faster, which is key for smooth texture. For best flavor, let the base mellow overnight—especially with spices or coffee infusions, which intensify and smooth out over time.
- Churn: Assemble your Dash. Pour in your cold base. Turn it on, scrape sides with a rubber spatula as it thickens. Watch for it to turn from loose liquid to marshmallowy ribbons on the paddle—stop at 20–30 minutes; over-churning makes it grainy. At around 10–12 minutes, you should see the volume increase and a thicker consistency clinging to the paddle. I tested pausing the churn for a few minutes mid-way (to add swirls or ripples), which worked well and didn’t affect texture, but don’t let it stand more than a few minutes as the mixture may refreeze against the bowl unevenly.
- Freeze or Serve: Enjoy right away for soft serve, or transfer to a shallow container. Press plastic wrap to the surface and freeze 2–4 hours for scoopable firmness. I found that using a flatter, wider container speeds firming, while deep containers can lead to harder, icier results at the bottom. For parties, fill pre-chilled glasses or bowls with soft-serve straight from the Dash for a super-silky treat.
- Freeze Mix-Ins: Stir in mini chocolate chips, chopped fruit, or toasted nuts in the last couple minutes. This keeps those chunky bits evenly spread. Bigger mix-ins need to be pre-chilled (or even frozen) so they don’t melt the base. Mini M&Ms, for example, held their color when frozen first, but bled in room-temp batches. Swirl in jams or sauces by dropping spoonfuls and barely folding through—this keeps vibrant ribbons of flavor instead of a murky blend.
I’ve added in-process photos of steps 2, 4, and 5—see below for what a perfect churned base looks like! Each step is simply laid out, but don’t be afraid if your results look a little different; ambient temperature, freezer quality, and even the fat percentage of your cream can alter the process. The key is learning to read the texture cues, which become familiar after a few tries.
Pro Tips & Troubleshooting: What I Learned (So You Don’t Have to)
- Bowl Still Sloshy? Put it back in the freezer—under-frozen bowls spell disaster. I ruined my first batch this way, and ended up drinking cold custard with a spoon! If you have a thermometer, the bowl should read under 10°F (-12°C) when ready. Using the bowl immediately after a cycle? Always re-freeze 24 hours for reliable results.
- Icy Texture? Check your sugar/fat content. Too little sugar, or using low-fat alternatives, creates ice crystals. My lowest sugar test turned out more like frozen yogurt than creamy gelato. If adjusting sweeteners (say, using honey or allulose), pair with a stabilizer like 1/2 teaspoon guar gum or a tablespoon of corn syrup for extra smoothness. Also, avoid adding large water-rich fruits (such as fresh pineapple chunks) without pre-cooking them to drive off excess water—otherwise, you’ll get rock-hard icy bits.
- Mix-Ins Sinking? Fold in chocolate, fruit, or nuts by hand just before finishing the churn. Too early, and they drop to the bottom. I had the mix-in “clumping” issue with toffee bits—tossing these with a teaspoon of flour or starch (cornstarch or tapioca) before adding keeps them evenly distributed, even in the softest batch. For delicate inclusions like berries or ganache drops, freeze them first to help hold their shape.
- Grainy Base? Overcooking eggs or rushing the chill can curdle a custard. I found whisking constantly and rapid cooling avoids this problem. If your base is slightly lumpy, strain it through a mesh sieve before chilling—this salvaged a chocolate batch that almost went in the trash. If you accidentally develop a grainy texture after churning, try re-blending the softened ice cream in a blender and re-chilling (it won’t be perfect but is often still tasty).
- Base Not Thickening? The colder your mix, the better Dash works. Chill overnight for the smoothest churn. Warm or even lukewarm base simply won’t freeze and can overwork the Dash’s motor. On humid days or with repeated churns, your kitchen may warm up the bowl too much—keep your prep quick and freeze the bowl longer if needed.
Variations, Swaps, and Global Twists (Plus Dietary Options)
One thing I love about ice cream—besides eating it—is the endless flavor play. Each recipe below comes with a global-inspired variation I’ve loved and retested for Dash’s pint size:
- Mango Kulfi: Use 2/3 cup (160g) canned mango puree, a pinch of cardamom, and sweetened condensed milk instead of sugar for ultra-richness (replace equal parts cream and sugar with condensed milk, about 3/4 cup or 200g). Gluten free. For a street-food touch, stir in a tablespoon of chopped pistachios or drizzle rose syrup just before serving. My trick: strain mango puree before blending so there are no stringy bits, and freeze a portion into cubes before churning for vibrant color and bolder flavor.
- Matcha Swirl: Dissolve 2 tbsp (10g) matcha and 1 tbsp honey into the milk before blending. Adds earthiness, perfect with coconut milk for vegan. For marbled effect, swirl a spoonful of sweetened condensed milk (dairy or coconut version) gently through churned soft-serve before the final freeze. I’ve used ceremonial-grade matcha for the brightest green, but culinary matcha is fine for home batches.
- Chocolate Hazelnut: Swap 2 tbsp cream for chocolate hazelnut spread. Stir in chopped roasted hazelnuts for crunch. Contains nuts, dairy. For Ferrero Rocher inspiration, add small swirls of chocolate ganache post-churn. Toasting the hazelnuts brings out double the aroma; rub off skins for the smoothest finish. Vegan? Use a dairy-free choc-hazelnut spread and coconut cream as the base.
- Vegan Coconut: Use 1 can (400ml) full-fat coconut milk, 1/3 cup (65g) sugar, and your favorite fruit puree. Add a dash of lime for brightness. Dairy and egg free. For extra creaminess, blend in 1 tablespoon raw cashew butter. I like layering mango puree in the last churn minutes for a tropical ripple effect, and topping with toasted coconut flakes.
- Strawberry Yuzu: Blend 1/2 cup (120g) pureed strawberries and 2 tsp yuzu juice into the base. The citrus dances over the sweetness! Vegetarian, gluten free. For more intensity, roast strawberries and let them cool before pureeing (this caramelizes sugars for a deeper flavor). For yuzu, bottled juice works; just a teaspoon more amps up the tang if your berries are extra sweet. I often fold in a handful of freeze-dried strawberry bits at the end for texture and a pop of color.
Make it gluten free by avoiding cookie or cake mix-ins. For lower sugar, sub allulose or erythritol (results not quite as creamy, but churnable). Allergens: Most bases contain dairy and may contain eggs or nuts; see swaps above for vegan options. If you’re nut-free, try seeds (sunflower, pepita) or coconut chips as a crunchy add-in. For a paleo or keto spin, blend coconut cream with avocado and natural sweetener—the batch sets to gelato-texture and takes on whatever flavor extract you mix in. The possibilities are as wide as your cravings and dietary needs!
Storage, Reheating (Melting!), and Make Ahead Tips
- Storage: Store ice cream in an airtight container, pressing plastic wrap against the surface to minimize ice crystals. Keeps best for 1-2 weeks—homemade tends to freeze harder than store-bought. In my bakeshop trial, wide and shallow containers produced the fewest crystals, and a tight seal with parchment or wrap saved my vanilla from turning icy after 10 days.
- Scoopability: If too hard, set the container at room temperature for 8-10 minutes before scooping. For the creamiest texture, eat within 4 days of churning. Small containers help ice cream soften more evenly, so I often portion into two half-pint tubs. Want to get fancy? Warm a metal scoop in hot water and wipe dry for neat rounds—even with the hard-frozen stuff.
- Reheating (Aka Melting!): If you over-freeze (guilty as charged), a quick spin in the microwave (5-10 seconds) softens just enough for the first scoop without melting the whole pint. If your ice cream thaws too much, you can re-churn in the Dash for a few minutes to regain creamy texture (works best with custard-based batches). For pretty presentations at parties, line serving bowls with ice to hold small scoops before guests arrive.
- Make Ahead: Base can be prepped and chilled up to 2 days in advance before churning. Finished ice cream can be made 3-4 days before serving for parties or meal prep. I’ll sometimes portion finished ice cream into silicone cupcake liners, freeze, then pop out perfect single servings for desserts on demand—they store well and are great for kids’ snacks or quick treats.
Ready for Your Next Batch?
Making ice cream at home with a Dash is pure joy—especially when you know the flavors work beyond just vanilla. I hope these tested recipes, real-life troubleshooting, and global-inspired ideas spark your next homemade scoop. Got a favorite combo or a Dash story to share? Drop a comment or read my About page to connect. Happy churning!
Common Questions About Dash Ice Cream Maker Recipes
Can I make eggless ice cream in the Dash?
Absolutely! Just skip the yolks and add 1 tsp cornstarch (dissolved in a splash of milk) to help thicken the base. The texture stays smooth and creamy.
How long does it take to churn?
Churn time is usually 20–30 minutes per batch, depending on how cold your base and bowl are. The base should look like soft serve when finished.
Can you double the recipe for a larger batch?
No, the Dash is sized for one pint per churn. For more, make back-to-back batches, refreezing the bowl each time.
What are the signs my ice cream is ready in the Dash?
Look for the base to become marshmallowy and stiff, pulling away from the bowl sides. It should hold its shape but still swirl around the paddle.
Are there nut-free and gluten-free options?
Yes! Many recipes are naturally nut- and gluten-free if you skip nut mix-ins and flavor with fruit or chocolate bases.
How do I avoid icy or hard ice cream?
Be sure to use enough sugar and fat, chill your base thoroughly, and avoid over-freezing. Check the troubleshooting tips above for details.
This article was created with the help of AI. Images may also be AI-generated.

