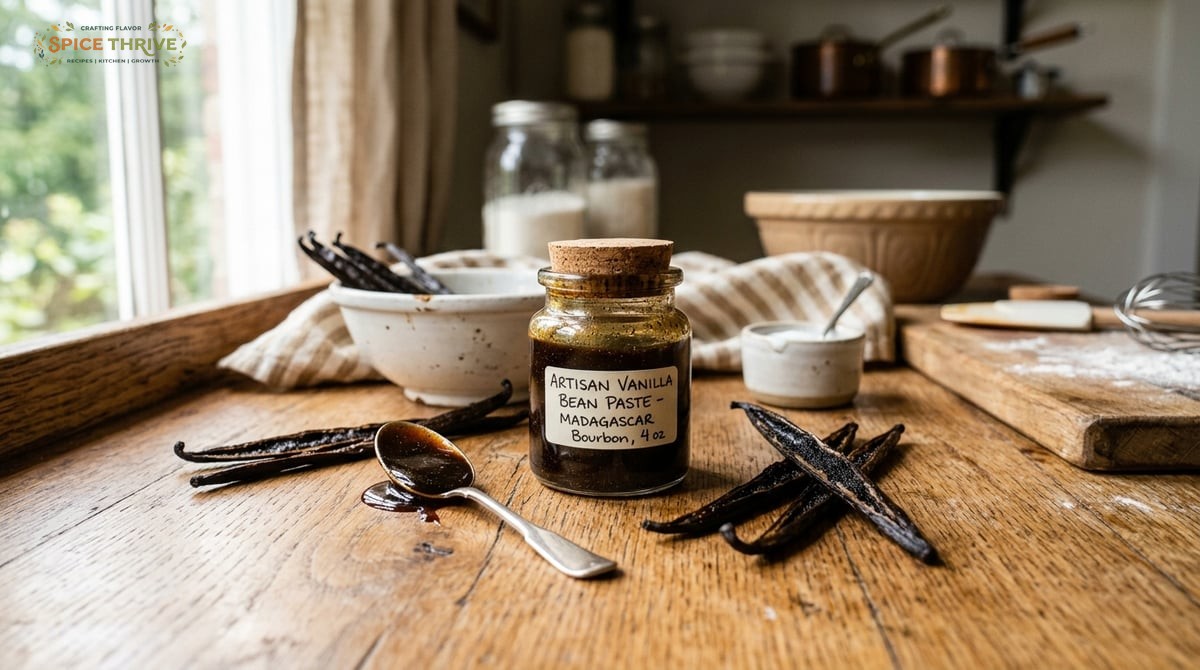
Vanilla Bean Paste: My Pantry Secret for Next-Level Flavor
As far back as my first batch of custards, I’ve chased that deep, speckled vanilla flavor you spot in restaurant desserts. Store-bought vanilla bean paste always seemed like a splurge, but once I tried making it at home three ways (with vodka, with syrup, and even quick-blitzing with honey!), I never looked back. Homemade vanilla bean paste gives you those signature tiny pod flecks and a burst of real vanilla flavor in every spoonful.
If you bake, make Asian desserts, or love a better-than-basic vanilla element in whipped cream, French toast, or even drinks, this versatile paste will be your new favorite ingredient.
Let’s walk through every step and mistake (yes, I scorched my first syrup batch) so you can skip the stress and make a jar you’ll be proud to show off—and maybe even gift.
Why You Will Love This Vanilla Bean Paste Recipe
- Restaurant-Quality Flavor, Every Time: Those bold vanilla notes with aromatic, almost floral complexity—without a hint of artificial aftertaste—will take your cakes, custards, and even simple yogurt to the next level.
- Economical (and a Little Luxurious): One batch makes enough paste to last weeks, and you control how strong, sweet, and thick you want it. No mysterious thickeners or syrups.
- Versatile for Global Cooking: Use in Chinese steamed egg custard, classic American butter cookies, or Thai coconut rice—the rich vanilla paste blends smoothly and brings those pretty black specks to ANY dessert.
- Zero-Waste Friendly: This recipe uses both the seeds and pods, squeezing every ounce of flavor from each precious vanilla bean. Pods infuse your syrup or extract base, leaving almost nothing to toss.

Ingredients Breakdown and Swaps
Here’s what you’ll need for a 1/2 cup (120g) batch:
- 3 whole vanilla beans (about 18g): The heart of your paste. Grade B beans are ideal—they’re less expensive but just as flavorful for extracts and infusions. Split and scrape them for max flecks. Swap: Use 2 extra beans if your pods are very short or dry, or sub in a little pre-made vanilla extract for budget-friendly boost (less specks though).
- 1/2 cup (120g) granulated sugar: Lends body and preservation. Superfine/caster sugar dissolves fastest, but plain sugar is fine too.
- 1/4 cup (60ml) water: To make a quick syrup base. Swap: Use light corn syrup or honey for a thicker texture and mild taste tweak.
- 1 tsp (5ml) vanilla extract: Optional. Helps boost flavor intensity for beans that may be past peak. Use homemade or store-bought.
- Pinch of salt: Balances sweetness and sharpens the vanilla notes.
Allergen note: This base recipe is gluten free, dairy free, nut free, soy free, and vegan. Honey swap makes it not vegan.
Step-by-Step: How to Make Vanilla Bean Paste at Home
- Prep the vanilla beans: Lay each bean flat on a cutting board. Slice down the length (but not all the way through) with a sharp paring knife. Use the dull side to scrape out all the sticky seeds. Set seeds aside; save pods.
- Infuse the syrup: In a small saucepan, combine sugar, water, and both the pods and seeds. Bring gently to a simmer over medium heat, stirring until sugar dissolves. Lower heat and simmer for 6 to 8 minutes. The syrup should become slightly thickened. What to look for: Bubbling, but not a hard boil, and syrup should coat the back of a spoon.
- Remove and rest: Take off heat and let the syrup steep for 15-20 minutes as it cools. This extra steep time pulls vanilla oils out of the pod shells.
- Finish and thicken: Remove pods, stir in vanilla extract (if using) and a tiny pinch of salt. Return to low heat. Let it bubble for another 2-3 minutes, stirring, until it looks like honey or maple syrup in texture.
- Cool and store: Cool completely. Scrape into a clean glass jar. Paste thickens further as it chills, developing that sticky, spreadable consistency.
Texture tip: If you want it thicker, keep cooking 2-4 extra minutes or use 1 tablespoon corn syrup. If too thick, stir in a teaspoon of hot water until loose but still sticky.
Tested Tips and Real Mistakes (So Yours Turns Out Perfect)
- Don’t crank the heat: I burned my first test batch by letting the syrup boil aggressively—low and slow means more vanilla flavor, less caramelized sugar.
- Scoop every seed: Scraping pods carefully gets every last fleck. A little patience here really does make a visual (and flavor) impact.
- Double-strain only if needed: Some folks strain for a smoother paste, but I love the natural flecks. If your pods are extra tough, a quick pass through a fine mesh sieve helps.
- Use clean, dry jars: Any moisture left in your container can reduce shelf life. Use boiled dry jars for best results.

Flavor Variations and Dietary Options
Mix it up for your pantry or diet:
- Honey Vanilla Bean Paste: Replace the sugar and water with 1/2 cup (170g) mild honey for a luxurious paste—slightly floral, less clear (not vegan).
- Corn Syrup Base: Swap water for light corn syrup to create a thicker, super-stable version perfect for gifting. Hint: this one never crystallizes.
- Alcohol-Free Version: Skip the vanilla extract or use a little non-alcoholic vanilla flavor if you want zero booze content (safe for all ages and recipes).
- Vegan: Use sugar and water, no honey, and ensure all utensils are cross-contamination free.
- Super Flecky: Add one more vanilla bean (4 total) if you love lots of seeds, especially great in light custards or ice cream.
Storage, Shelf Life, and Make Ahead
How to store your vanilla bean paste:
- Store in a tightly sealed glass jar in the fridge for up to 2 months. The cold keeps it thick and preserves the volatile oils.
- If using within two weeks, room temperature is fine if it’s in a cool, dark spot.
- To extend shelf life, add an extra teaspoon of vodka or rum during the final stir—the alcohol acts as a preservative.
- If the paste crystallizes (white sugar specks), warm gently and stir. It’s still safe and just needs a mix!
- Great for making ahead: The flavor deepens after a few days. I like to prep double batches for holiday gifting or baking season.
Freezing note: Not recommended—it changes the texture.
Ready to Bake? Try Your Homemade Vanilla Bean Paste!
Your jar of homemade vanilla bean paste is ready for action. Try it in Asian-style milk bread, classic French madeleines, or simply swirl into whipped cream or bircher muesli.
If you make this recipe, I’d love to see how you use it! Tag Spice Thrive or share your results in the comments. Happy kitchen experimenting!
Common Questions
How much vanilla bean paste equals a vanilla bean or extract?
Use 1 tablespoon paste in place of 1 vanilla bean, or 1 tablespoon paste for every 1 tablespoon liquid extract.
Can I use spent (already scraped) vanilla pods?
Yes, but the paste will be lighter on flavor and won’t have as many flecks. Still solid for infusing syrup or tea.
Is this cheaper than store-bought vanilla bean paste?
Usually, especially if you buy beans in bulk. Plus, you control texture, fleckiness, and sweetness.
Can I make a sugar-free version?
Yes. Use a neutral liquid sweetener like allulose syrup or monk fruit syrup—but final texture may be runnier.
Can kids or pregnancy enjoy this?
If you skip or cook off the alcohol (extract), this paste is family-safe.
This article was created with the help of AI. Images may also be AI-generated.

